Tripod Headstand Tutorial · Beginners Yoga · Step by Step
Practice summary
- Video length
- 4:12
This is a step by step Tripod Headstand tutorial for beginners. The tripod headstand is more doable than you think. With the right technique and a little practice a beginner can do the tripod headstand easily. And it is so much fun! 🤸 Learn headstand and other poses with my yoga coach
📚 Simplicity Secret: How to Reduce Overwhelm and Stress, Make More Money, Improve Your Health and Fitness, and Be Happier
📚 Stealth Millionaire: How to Save and Manage Your Money Like the Rich
📚 Find Your Purpose: A Practical Guide for Discovering Your Purpose and Creating a Life You Love
Published by My Castle Property Ltd
George Choy, Sarah Choy, sarah and george, Tripod Headstand Tutorial, how to do a tripod headstand ,how to tripod headstand, tripod headstand, how to do tripod headstand ,tripod headstand for beginners, Tripod headstand yoga, how to do tripod headstand yoga, yoga headstand tutorial, how to do an inversion yoga, how to do an inversion, yoga headstand for beginners, how to do a headstand, yoga headstand,headstand tutorial, yoga inversions, head stand
Transcript
Welcome to this tripod headstand tutorial. I'm George Choy and I just want to acknowledge you for turning up today to deepen your practice. Now this tripod headstand routine I'm going to teach you step by step. So it is suitable for beginners, no matter where you are, you can do this. It's a lot easier than you think. It is it's just knowing the right steps and where to put your hands and so on. Okay now I personally love doing challenging yoga poses like this because it builds strength, you get such a great sense of achievement once you've done it, and it looks really cool. So that's really good and if you want to further your yoga practice then click the link in the description below. Now when you're doing a challenging move like this, I find it really good to borrow from Tony Robbins teachings and get in the right state. So let's start thinking like an athlete. I want you to say after me: "all I need is within me now." "All I need is within me now." All I need is within me now," good. Now close your eyes. I invite you to do that if you feel like doing it, and imagine yourself. Just put yourself in your mind in the Tripod headstand. Imagine what it feels like, see yourself doing it. Good all right, let's get started. So with the setup if you feel concerned at all that you might fall over doing this pose, then I recommend you put yourself about one foot away from the wall, so put your back about one foot away from the wall, and then that way there's still a little bit of flexibility for you to you know be off centre and to adjust. So you can get your alignment right without instantly touching the wall, but it's not so far far away that you would you fall onto the floor. It can be a little bit uncomfortable on your head. I don't recommend using a cushion. Something like this is too is too thick. Ehat I would actually recommend is just using a very thin blanket, or you can put your head on a small foam mat, something like that or, you know I'm okay with just actually with the carpet. If you have any retinol injuries or neck pain, or lower back pain, if you have high blood pressure, or low blood pressure, or you're pregnant, or it's currently your moon cycle, then perhaps this is not the right time for you to do this practice. And if you've got any wrist pain, definitely this is not the right time for you. So let's warm up so let's just do a few things on the wrist, obviously you should be able to already hold yourself in say a plank position that you can take that strain on your wrist. So the first thing is where where to put your hands. You're going to put your head down and then you're going to put your hands and make sure the hands aren't too close to your head, you want them further back. What I like to do is actually just lift my arms up and then put them down. So I'm gonna put my head here. I'm gonna lift my arms up. Put them there. that feels comfortable for me. My forearms seem vertical and shoulder width apart. Then walk here walk yourself towards you that's it, and then if you want to lift one up you can. If you want to lift the other one and touch them, you can. You can even try putting one leg up if you want, or just going halfway to there. Or maybe if that's too much, you can just move one leg off. And then eventually you can go all the way up. Squeeze your glutes, squeeze your legs together. Slowly reverse the move. So how did you do? I hope it went well. Please let me know how far you got in the comments. And if you want to take it further, then have a look in the description. There's also a crow tutorial of mine. You can check that out if you want to go from Crow to headstand and back to Crow again, you can try that. And I'll see you all next week. Namaste.
More practice
 Dandasana (Staff Pose or Base Pose) How to Do Step by Step for Beginners, Benefits and PrecautionsSiddhi Yoga International · 6:44
 Head Stand Yoga Pose - How To Do a Headstand for BeginnersYoga With Adriene · 18:00
 Headstand Tutorial - Alignment · Laurens Bliss YogaLaurenTansel · 3:10
 Headstand for beginners · Salamba Sirsasana · Yoga Pose TutorialHeart Alchemy Yoga with Michelle Goldstein · 5:53
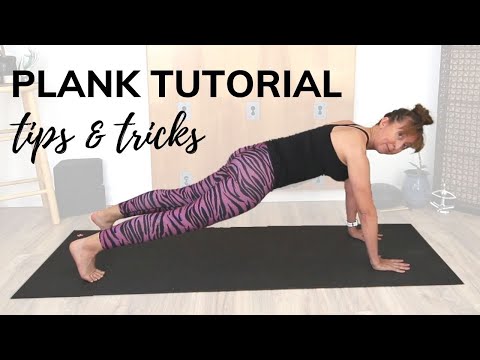 High Plank Pose, - Phalakasana: Yoga Tutorial Plus Tips and Tricks for BeginnersDi Hickman · 9:10
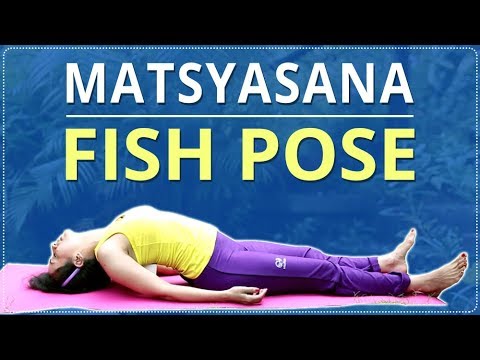 How To Do Fish Pose · Step By Step Matsyasana · Yoga For Beginners · Simple Yoga LessonsMind Body Soul · 4:27
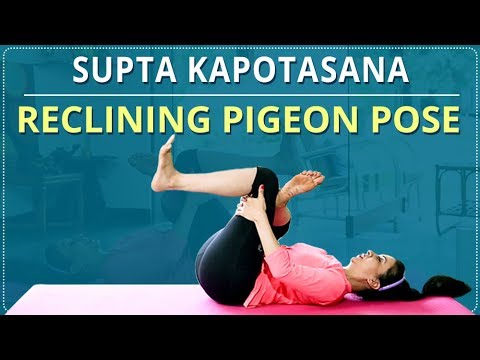 How To Do Reclining Pigeon Pose · Step By Step Supta Kapotasana · Simple Yoga · Yoga For BeginnersMind Body Soul · 4:12